Introduction to Unity’s UI System: Canvas, Text, Buttons, and Images
Designing an engaging and functional user interface (UI) is crucial for any game. Unity’s UI system provides powerful tools to create and manage UI elements like canvases, texts, buttons, and images.
Example 1: Setting Up the Canvas
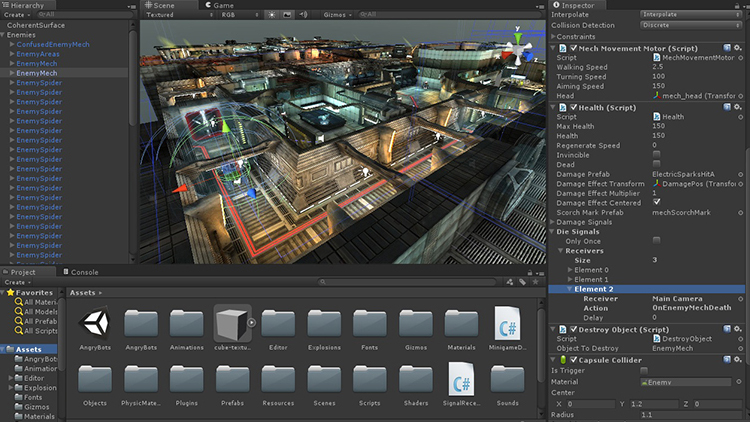
Begin by creating a new Canvas in your scene. This serves as the root element for all UI components. Right-click in the Hierarchy, navigate to UI, and select Canvas. Adjust the Canvas Scaler component to scale with the screen size, ensuring your UI elements adapt to different resolutions.
Example 2: Adding Text Elements
To display text on the screen, add a Text element to the Canvas. Right-click on the Canvas, go to UI, and choose Text. Enter some sample text, such as “Score: 0,” and adjust the font, size, and color in the Inspector. Position the Text element at the top left corner of the screen to display the player’s score.
Example 3: Creating Buttons
Buttons are essential interactive elements. To add a button, right-click on the Canvas, navigate to UI, and select Button. Adjust the button’s position, size, and color in the Inspector. Add a Text component as a child of the button to label it, for example, “Start Game.” Configure the OnClick event to trigger a function when the button is pressed.
Example 4: Adding Images
Images can enhance your UI’s visual appeal. Right-click on the Canvas, go to UI, and choose Image. Assign a sprite to the Image component in the Inspector. Adjust the size and position of the Image to fit your design. Use images for background elements, icons, or decorative purposes.
Example 5: Implementing a Main Menu
Create a main menu using UI elements. Add a Panel to the Canvas to serve as the menu background. Inside the Panel, add Text for the game title, and multiple Buttons for options like “Start Game,” “Options,” and “Quit.” Write a script to handle button interactions and load the appropriate scenes or functions.
Example 6: Designing a Heads-Up Display (HUD)
A HUD provides real-time information to the player. Create a new Text element on the Canvas to display the player’s health. Add a Slider element to represent health visually. Write a script to update the Text and Slider based on the player’s health status.
Example 7: Creating a Pause Menu
Implement a pause menu to allow players to pause the game and access options. Add a Panel to the Canvas and set it to inactive initially. Inside the Panel, add Buttons for “Resume,” “Restart,” and “Quit.” Write a script to toggle the Panel’s active state when the player presses the pause key and handle button interactions.
Example 8: Displaying Score and Timer
To display the player’s score and a countdown timer, add two Text elements to the Canvas. Position them appropriately on the screen. Write a script to update the score based on in-game events and decrease the timer as the game progresses. Ensure the timer stops when it reaches zero or the game ends.
Example 9: Implementing Event Triggers
Event Triggers allow you to add interactivity without writing code. Add a Button to the Canvas and select Add Component in the Inspector. Choose Event Trigger and add an event type, such as PointerEnter. Assign a function to change the button’s color when the player hovers over it. This enhances the user’s interaction experience.
Example 10: Customizing UI with Scripts
For advanced UI functionality, create custom scripts. For example, write a script to create a dynamic scoreboard. The script should instantiate new Text elements for each player and update their scores in real-time. Attach the script to an empty GameObject and link it to the Canvas.
By following these hands-on examples, you’ll gain a comprehensive understanding of Unity’s UI system. You’ll learn to create interactive, visually appealing interfaces that enhance the player’s experience and provide essential game information. This foundational knowledge will enable you to design and implement more complex UI systems in future projects.

Leave a Reply